Manufacturing and CNC milling
This week's work focuses on 3D design and it's preparation for work on CNC machine. Our task was to prepare design that could be milled from playwood using CNC machine. The limit was that the design must fit to 500 mm x 400 mm frame, plus playwood width which was either 12 mm or 18 mm. My initial intention was to create Monza circuit that could be used as a decoration, something like this
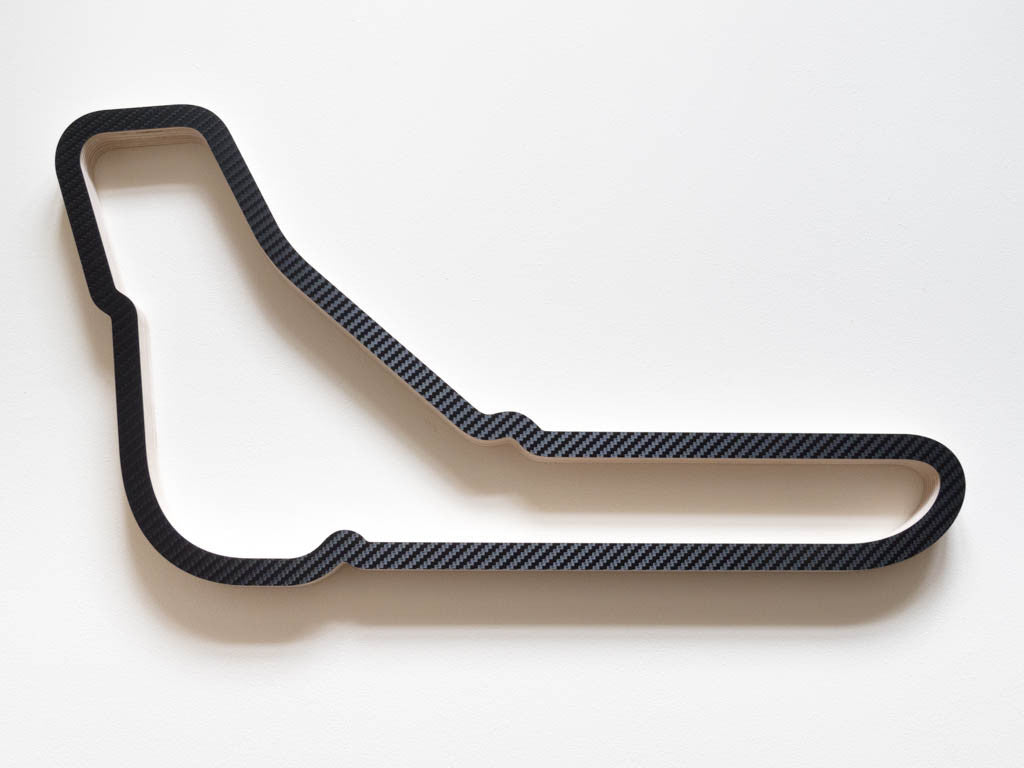
but the final result didn't come out as expected and was too thin and awkwards to mill. Because of that, I quickly redesigned my work and created hangboard, that will be used to work on my grip as well as finger strength. Something to utilize to improve my climbing skills. The design was created in Fusion 360. It isn't anything too complicated because of the time pressure to have it done as quickly as possible. I was aiming to make it two layered to be able to use it for different depths of grips. The design must have also fit into the dimension threshold and had to be durable and withstand human weight. The design can be seen below, the layout was created by me, with three layers of grips with different depths and enough material to hold it together and withstand the weight. To make precise second layer, Projection tool in Fusion 360 was used.
Manufacture
To make the design ready for manufacture process, set of instructions needs to be defined for the CNC machine to mill the design as desired. First, new setup nand stock material must be defined in this case without top offset, as the top of the material is also top of the design. After that, holes are created using 2D pocket tool, that lets user define which holes to be milled with addition of other details. Worth mentioning is that right tool needs to be selected (6 mm flat Endmill), multiple depths selected to ease pressure on the tool and Stock to leave turned off to mill through the material. After that, chamfer tool can be used to smoothen the edges of the holes automatically. And last major instruction is to mill contours of the design, to separate it from the stock. After that, the project can be exported to G-code as a set of instructions for the CNC machine. The work and preparation of the machine is much more complicated and I wasn't present at the time when my project was milled, so just the final result is shown.


After that, some post processing needed to be done. Firstly, I used sandpaper to smoothen the surface from small splinters and rough parts. To join two parts together, I have decided to use some leftower screws, 35 mm long so it just fits into the material without screws peeking out. I have used dril to premake holes and screw the screws in. I have used only two screws to hold the wooden parts together, but I am planning to use wider screws to attach the hangboard to the surface in the future. These screws will also ensure, that the wooden parts will be hold together tightly. The final result can be seen below.

